The Low-Down on Building Your Own DIY Tools
Not the biggest fan of working out at the gym? Make some of these DIY gym must-haves. These simple tools can help you create an effective DIY gym that you can use to get great results at home or even outside!
Simple yet effective DIY gym equipment
Not all of us are eager to hit the gym although we know we need to exercise.
Call it sluggishness, but with enough motivation, exercising is something that we can all do at home. Perhaps, one thing that can motivate you to continue with any exercise program is having the right equipment.
Don’t worry – here is a few simple, effective DIY gym equipment to help you achieve your fitness goals.
Pull up bar
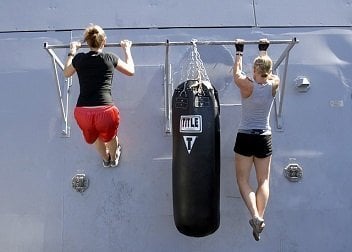
 Pull-ups work the arm and back muscles incredibly effectively which is why this exercise is a staple of strength training programs.
Making your own pull-up bar is easy all you need to do is to fit galvanized steel pipes together. You may use 1” or 1 1/4” pipes. You will need one 18” pipe, two 10” pipes, two 6” pipes, two 4” pipes, and two 3” pipes. You will also need eight 90-degree elbows (as connectors), electrical tape, and a pipe wrench.
First, connect the two 3” pipes at both ends of the 18” pipe. Next, connect the two 10” pipes on each end of the 3” pipes. Connect the 4” pipes on each end of the 10” pipes before connecting the 6” pipes at the end of the 4” pipes. It should look like this.
Finally, hang the finished device on an I-beam. Make sure that the I-beam can take a heavier load otherwise it’ll break once you start pulling.
Kettlebell
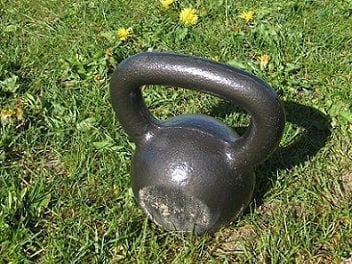
Kettlebells improve flexibility and endurance. Hence, they are considered one important exercise resource.
In making your own kettlebell, you will need a bag of concrete mix and 2 ½ feet, 1-inch thick steel bar (rebar). You’ll also need an inflatable rubber ball, wire, arc welder, two buckets, hacksaw, packing tape, and water.
 For the process, first, you need to divide the rebar into three: one 7” to 10” (for the top) and two 10” to 12” bars (for the sides). Use the hacksaw in cutting the rebar.
Second, weld one end of the first sidebar to one end of the top bar and the second sidebar to the other end of the top bar. The sidebars should be angled slightly. Wrap the corners of the bars if you find them too rough to handle. Use the packing tape.
Third, get the rubber ball and wrap it with packing tape. Wrap the ball liberally. This will be your mold. Leave two holes (about 4” apart) above the mold to accommodate the handle. Put the mold inside the bucket. You may put crumpled newspapers inside to keep the mold at the center.
The necessary next step is to prepare the concrete. Using another bucket mix the concrete with water. Refer to the packaging for the amount of water needed. Don’t make it too watery because your kettlebell will be weak if you put more water than instructed.
Position the handle by inserting its end onto the holes. Using a wire, suspend the handle so it will stay in place while you pour the concrete mix onto the mold. Fill the mold using your hand or a wide-mouthed funnel. The mold will flatten a bit, but it’s perfectly fine.
Reposition the handle as necessary. Make sure that both hands have enough room when handling it. Let it set. Dry it for 2 to 3 days or more, if necessary.
Hand weights
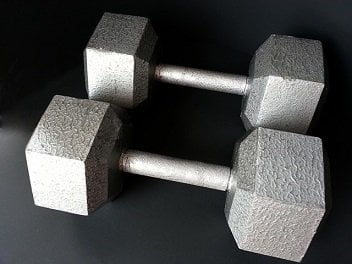
 Hand weights are the DIY gym equipment you always think about when you think of exercise They can help strengthen your grip and strengthen your body overall!
Now, there are very simple ways to make your own hand weights. You will need empty bottles and gallons of water or milk. For the gallon jugs, the best to use are those with ergonomically designed handles.
You will also need something to fill them like water, sand, concrete, or rock. You may mix sand with cement at a 5:1 ratio. Add water until the mixture is a little slushy. Depending on the filler, the dumb bottle will vary in weight as well.
Nonetheless, you can always start small by filling empty bottles with sand. You can use these dumb bottles for basic dumbbell exercises. If carrying these empty bottles is no longer a challenge for you, you can move on to empty gallons filled with concrete.
Weight will also vary depending on the size of the gallon you use. For plate weight storage, you can create your own DIY weight tree as well!
Wrap-Up
These pieces of DIY gym equipment are low-cost and are not time-consuming to create. Despite being cheap and DIY, however, these can make a difference to your training.
You won’t have any excuse not to exercise since you have an instant access to these contraptions.
Another thing, you made them so you might as well maximize their use, right?
- How to Motivate Yourself to Workout - December 29, 2015
- DIY Gym Equipment Must-Haves - September 22, 2015


