Exercises with Resistance Bands: The Perfect DIY Gym
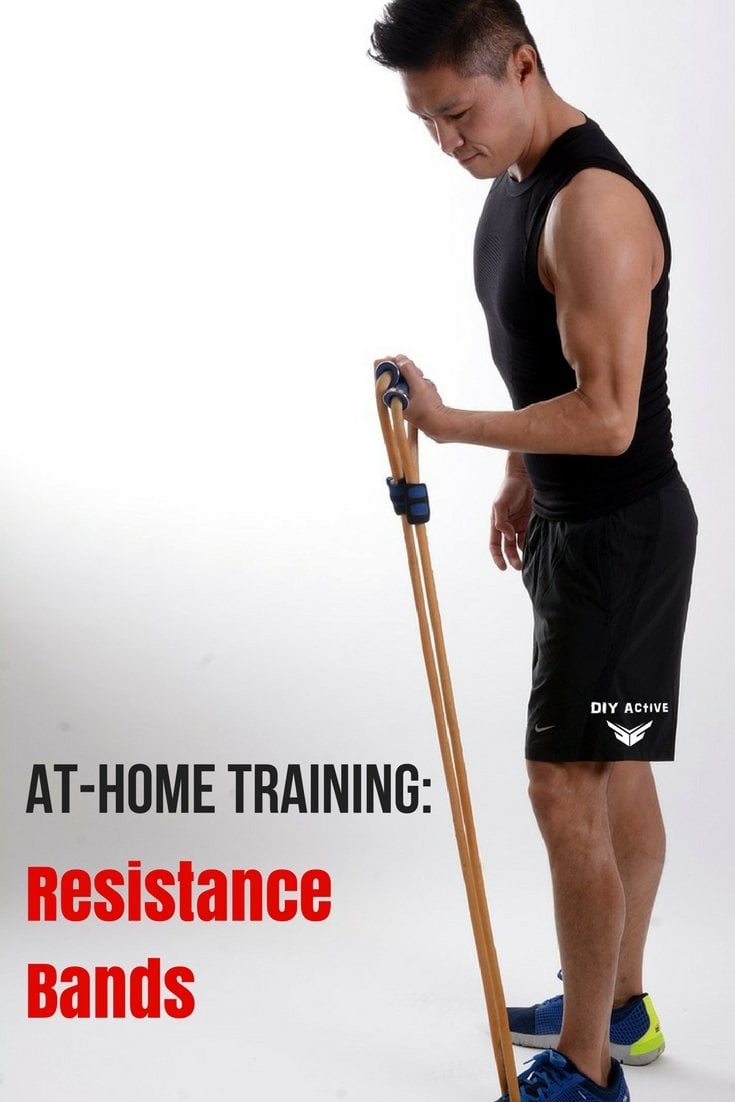
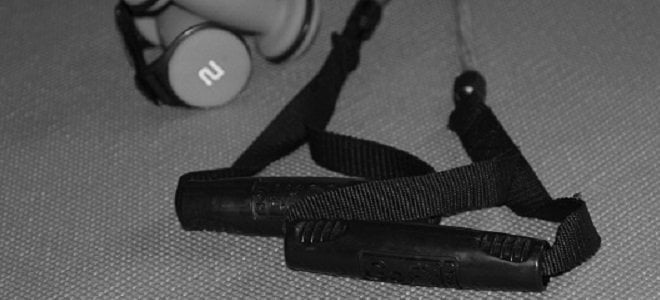
Resistance bands (sometimes called tubes or cables, for this article, we will refer to them as bands) are a very useful, cheap fitness tool that can literally be used anywhere. Bands come in a variety of resistance weights from ~3 lbs all the way up to 100 lbs. My newest 5 lb band came from the local sporting goods store and only cost me $13.00 and this one band can help me accomplish my entire workout on the go or at home.
Say goodbye to feeling bloated and sluggish, and hello to a toned and energized self with Beyond Body Personalized Wellness Book. Read our Beyond Body Review.
Get the ultimate workout: Exercises With Resistance Bands
When choosing resistance bands for your workout you want to choose a resistance that is heavy enough to fatigue you after several repetitions but light enough that your form is still impeccable.
Most bands are colored coated to their resistance, or the packaging will clearly say their resistance (if you can’t find the resistance weight on the package ask someone working at the store).
It’s almost always better to use a lighter weight than you think until your strength is sufficient enough to perform the exercises in the correct form.
One of the beauties of using bands is that you can actually increase the resistance without actually having to have several bands of different resistance.
For example (pictures below; click on them for the full picture), unlike the normal stance (left picture) you can widen your feet on the band to increase your resistance (middle picture), or have a close footed stance on the band to decrease the resistance (right picture).

To have even less resistance you can have the band only under one foot (left picture below). Likewise when doing exercises that don’t require you to stand on the band, make sure to have a firm, close-handed grip on the handle (middle picture below) or wrap the band around your hand to increase the resistance (right picture below).
Note: make sure to have the band firmly under your feet or wrapped around your feet or hands to decrease the chance of the band slipping off and hitting you in the upper body or face (I’ve done this before and it hurts…frickin bad).
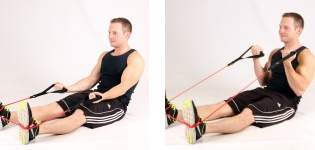
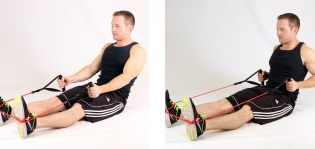
 Lastly, some exercises require you to be sitting on the floor with your legs stretched out, make sure the band is securely in the arches of your shoes with your toes pointed slightly forward to keep the band from slipping off (left picture below).
To increase the resistance wrap the bad around one foot (middle picture below) or both feet (right picture below).

Okay, the basics are now out of the way and you have a good foundation to begin your workout (after stretching of course). Below you will find an entire-body workout that can be substituted for your traditional workout at the gym or at-home (perform each exercise for 3 sets of 10-12 repetitions or increase repetitions until fatigued, don’t forget to concentrate on your form) or as a timed circuit routine (Circuit Training).
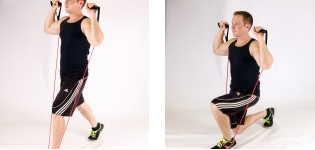
Lunges
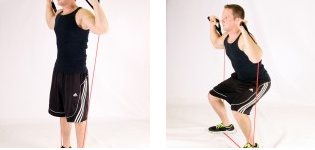
Squats
Shoulder Press
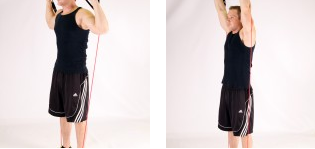
Upright Shoulder Row
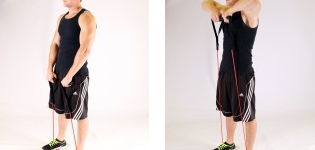
Front/Lateral Deltoid Raise

Rear Deltoid Butterfly
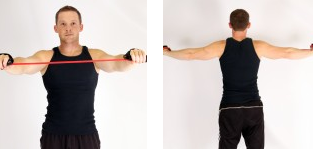
Bicep Curl
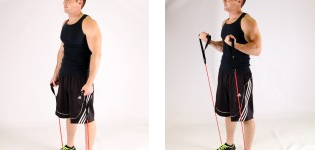
Sitting Bicep Curl
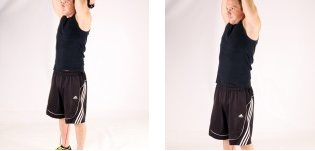
Tricep Extension
Sitting Lat Row
Wrap-Up
As you can see, you can get a whole body workout at home with resistance bands and it can be quite rewarding if you push yourself.
It’s even better to combine some of the movements like add a shoulder press to the end of your squat or add a bicep curl to the end of your lunge!
Just remember to take it slow, keep your form, and watch your foot or hand placement on the bands at all times.
Keep increasing your resistance as your strength increases and you will see amazing results with such a cost-efficient piece of equipment. Get out there, improve yourself, and Be Active!
- Post-Workout Meal: Getting the Most from Your Workout - January 22, 2024
- 6 Ab Exercises To Blast Your Core - December 17, 2023
- 10 Office Exercises You Can Do To Burn Calories - November 19, 2023
